Tuesday, August 23, 2016

From nursery to little girl's room

Man, time flies.

I designed a tiny little nursery for one of my best friends' daughter about 4 years ago.  Since then, she moved in with her brother to make way for a new baby, whose nursery had to turn back into an office, and now it's time to move Lucy back into her own room and let the boys share.  Time for an update!

They never took down the custom pelmets (which, I mean, hooray!) and they still have a wonderful crocheted floral rug we selected from Serena and Lily.  My job: to make the most of an 9x10' room and bring on the girl factor.

This is the (tight!) layout:


The desk can double as a vanity, nightstand, and play or art surface, and will be the thing you see form the hallway.  (We wanted to tuck the clutter within the room.)  At the foot of the bed there is room for a pair of poufs to pull out for extra seating or a pair of floor baskets for extra storage.


I love how the shape of the pelmet is repeated in the mirror and headboard, and the little ribbon shape of the chair is repeated in the euro sham.  The palette is definitely girly, but the main pieces are not purple or pink--plenty of room for an updated palette in the future.

I always say girls rooms are my favorite to do, and this was no exception!


Monday, August 1, 2016

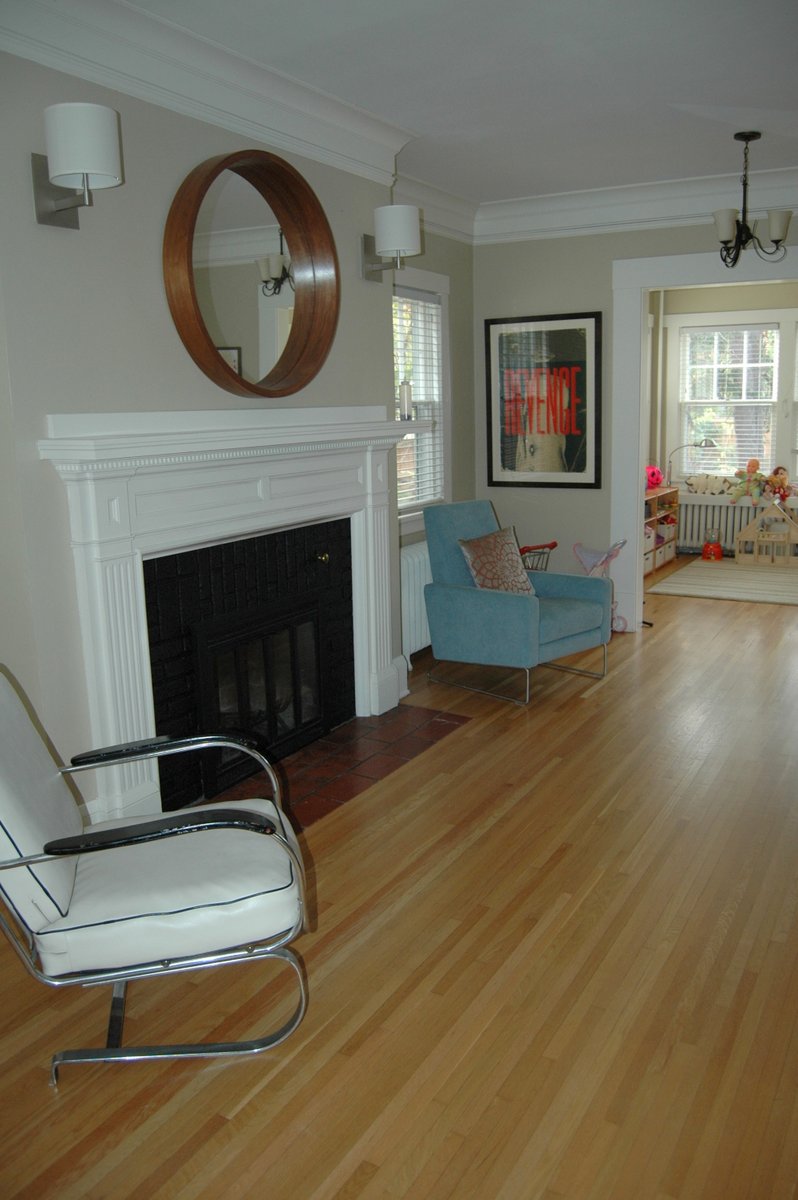
Before and after: Modern style in a Dutch Colonial

Over the last two Wednesdays we did some final install and photography at a project that was LONG in the making.  In fact, these were some of my very first clients, and have remained some of my biggest supporters.  We initially met at a wedding in Seattle more than a decade ago, and then bumped into each other at a kids music class when I moved back to the Twin Cities.  I was initially hired to hang a gallery wall of family photos in the stairwell, and it just sort of unfolded from there.

This is one of my most modern projects, and certainly my most minimalist (so few rugs! Not a dingle curtain!).  The before shots aren't really fair--a lot of them were shortly after they moved in and they didn't really have furniture, plus the paint and lighting were mostly holdovers from the previous owners--but I think they are great to show the power of paint and to demonstrate that we can re-use items and still find a new look.

This was also one of our toughest shoots--we were installing simultaneously, and every time I got a shot ready, the clouds would roll in and the rain would pour down.  You mostly wouldn't know it from the photos, but I know what was happening off camera. :)

At any rate, shall we take a tour?

Entry before:


And after:


Stairway Before:


And after:


Living room before:


After:


 Seating area before:


After (looking the other way.  Also, this was the darkest/stormiest moment of the shoot, and it shows!)


Far corner before:


And after:


Fireplace before:


And after:


Couch wall before:


And After (looking the other way):


A close up of the floating bookshelves in the corner (plus you can actually see the fabric on the window treatments):


Dining room before:


And after:


Powder bath before:


And after:


Girls room 1 before:


And after:


Before:


And After:


Before:


After:


Girls room 2 before:


And after:


Window seat before:


And after:


Master bed sitting room before:


And after:


Master bedroom before:


And after:


Landing to the master bedroom before:


After:


Details and other angles:

(So i love with the dining room window fabric)


There are so many things I kind of want to point out or mention, but it just took 2 hours to get all of that edited, organized, and loaded....it probably should have been 2 or more posts!


LinkWithin

Related Posts Plugin for WordPress, Blogger...